Quick Reference During Hive Inspections
NORFOLK BEES LEARNING HUB
A calm, practical companion to take with you to the apiary
FIELD LIBRARY | NB-009 | VERSION 1.0 | JULY 2026
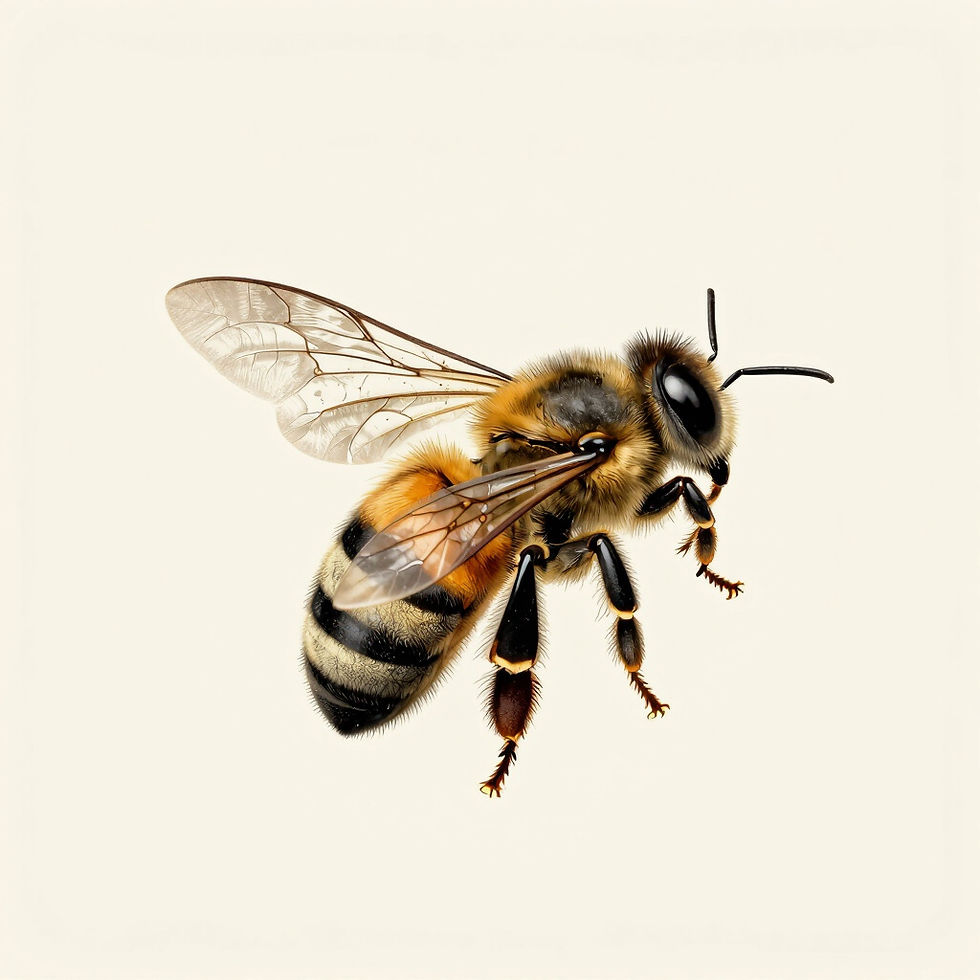
Have a reason for the inspection. Know what you are looking for, take only the equipment you need and give yourself time to observe without rushing.
Prepare Yourself
- Check your bee suit and veil for holes or gaps.
- Ensure you have a lit smoker and sufficient fuel.
- Wash your gloves or have clean spare ones.
- Check the weather—avoid cold, wet, or very windy days.
Prepare Your Notes
- Have your previous records ready to review.
- Ensure you have a pencil and inspection sheets.
- Bring a queen marker pen or clip if needed.
- Have labels or chalk for marking hive boxes.
Start at the Entrance
Before opening the hive, spend 60 seconds watching the activity on the landing board.
Look for:
- Steady traffic of flying bees?
- Bees returning with pollen?
- Guard bees alert?
- Bees hanging around or fighting?
- Orientation flights of new young bees?
“The entrance tells half the story. If you see pollen coming in, they probably have a queen and brood to feed. If the bees seem listless, they might be hungry or queenless.” — Tristan
Colony Strength
- Number of frames covered in bees.
- Do the bees seem calm or defensive?
- Is there enough space for the current population?
Brood and Queen Evidence
- Can you see eggs (tiny white dots)?
- Are the larvae pearly white?
- Is the brood pattern solid?
- Are there queen cells?
Food and Stores
- Arcs of honey above the brood.
- Frames of stored pollen.
- At least two frames of stores for summer safety.
Not Every Unusual Thing Is a Problem
Often Normal
- Bees fanning at the entrance to cool the hive.
- A few dead bees on the ground (natural mortality).
- Bees grooming each other.
- Drone bees being raised in early summer.
Pause and Look More Closely
- Sunken or greasy-looking brood caps.
- Melted or stringy larvae.
- Bees with deformed wings.
- Foul smells coming from the broodnest.
If you see something that worries you, take a clear photograph and ask for advice before closing the hive.
Inspection Record
Date: ____________________
Weather: ____________________
Apiary / Hive ID: ____________________
Queen evidence: ____________________
Colony strength: ____________________
Stores: ____________________
Brood pattern: ____________________
What I noticed: ________________________________________________________________
Pest or disease signs: ____________________
Action needed: ________________________________________________________________
Review date: ________________________________________________________________
Unusual queen behavior, strange-looking brood, or a rapid drop in colony weight can be signs of underlying issues. Being proactive is better than waiting until the next inspection.
Good records are the hallmark of a successful beekeeper. Download a PDF version to print and keep in your tool kit, or return to the hub to explore more advanced inspection techniques.
Have a reason for the inspection. Know what you are looking for, take only the equipment you need and give yourself time to observe without rushing.
Prepare Yourself
- Protective clothing securely fastened
- Smoker lit and burning well
- Hive tool in hand
- Water and fuel for smoker nearby
Prepare Your Notes
- Last inspection record reviewed
- Specific goals for today noted
- Camera or phone ready for photos
- Marking pen if needed
Start at the Entrance

Before popping the lid, spend sixty seconds watching the activity on the landing board. It tells you much of what you need to know about the hive’s health and state of mind.
Look for:
- Pollen loads: A good sign of active brood rearing.
- Foraging activity: Steady traffic vs listless hanging around.
- Guard bees: Are they alert but calm, or running erratically?
- Washboarding: Often normal, but note the intensity.
- Debris: Chalkbrood mummies or dragged-out larvae.

“From Tristan’s Notebook: If the bees are quiet and purposeful at the entrance, the colony is usually balanced. If they are zig-zagging or ‘robbing’ (fighting), think twice before opening up.”
Colony Strength
- Number of frames covered in bees
- Bee density across the brood box
- Activity at the entrance vs inside
- Is the box full? Consider adding a super
Brood and Queen Evidence
- Eggs found (confirms Queen was here 1-3 days ago)
- Young larvae and sealed brood
- Brood pattern: solid or 'pepper-box'?
- Presence of queen cells (play cups vs charged)
Food and Stores
- Pollen stores (various colours)
- Capped honey arches on brood frames
- Sufficient stores for the next 10 days?
- Is there space for the queen to continue laying?
Not Every Unusual Thing Is a Problem
Often Normal
- Bees 'washboarding' on the front of the hive.
- Drones being evicted late in the season.
- A few dead bees on the landing board after a cold night.
- Orientation flights (a cloud of bees in front of the hive for 20 minutes) often in the early afternoon.
Pause and Look More Closely
- Bees crawling on the ground unable to fly (K-wing or deformed wings).
- Heavy fighting or 'tussling' at the entrance (robbing).
- Dark, greasy-looking bees or trembling behavior.
- Spotty or 'pepper-box' brood pattern.
If you see something that worries you, take a clear photograph or video and ask for advice before taking major action.
Date
Weather
Queen evidence
Stores
What I noticed
Action needed
Review date
Apiary / Hive ID
Colony strength
Brood pattern
Pest or disease signs
When simple observation reveals a problem you don't recognize or can't resolve—such as suspected foulbrood, high mite counts that aren't dropping, or a colony that simply isn't thriving despite your best efforts—seek professional support immediately. Action taken sooner rather than later often saves a colony.