KNOWLEDGE ARTICLE
The Secrets of Honey
This detailed guide walks beekeepers through the rewarding journey of honey extraction—from selecting the perfect frames to the final jar. Mastering these steps ensures the highest quality harvest while keeping your colony healthy and productive.
Selecting and Removing Frames
Knowing which frames to harvest is a foundational skill. Focus on honey supers rather than the brood nest, and always ensure the bees have enough stores for their own needs. Look for frames that are at least 75-80% capped; these 'cappings' are thin layers of wax that signify the honey is ripe and the moisture content is low enough (under 18%) to prevent fermentation. Removing honey should be done with minimal disturbance using bee brushes or escape boards to clear the frames. Work efficiently to avoid triggering 'robbing' behavior from other hives, and never take frames containing brood, as this risks chilling the larvae and complicates the extraction process.
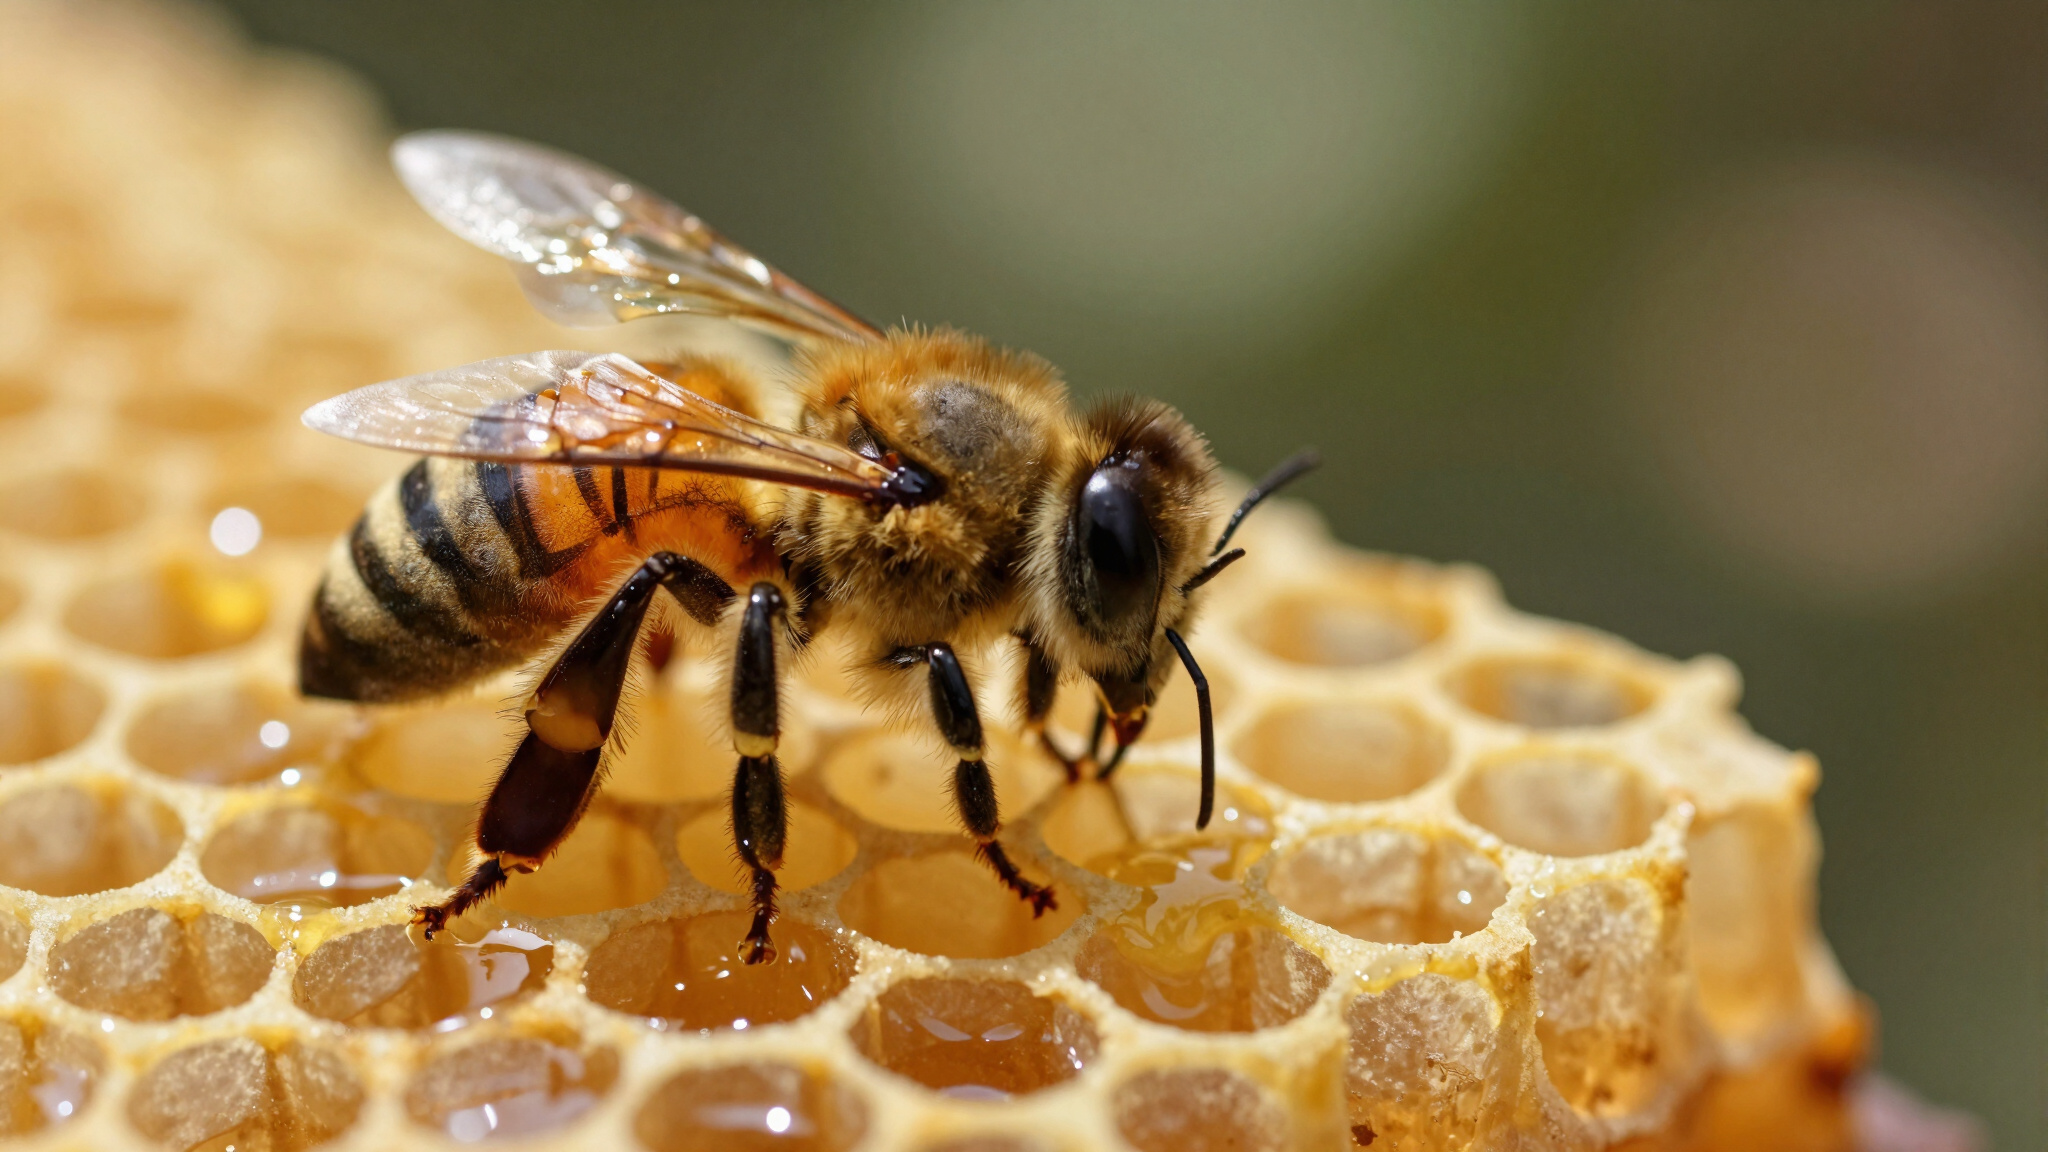
A healthy honey bee on a frame being inspected. Beekeepers must carefully select frames that are primarily capped to ensure the honey is ripe for harvesting.
Once removed, keep the frames in a bee-tight container until you reach your extraction area. The cappings represent an incredible indicator of ripeness provided by the bees themselves. In plain English, if the honey isn't sealed, it likely has too much water and might spoil or 'fix' poorly once jarred. By selecting only capped surplus honey, you guarantee a shelf-stable product that captures the true essence of the season.
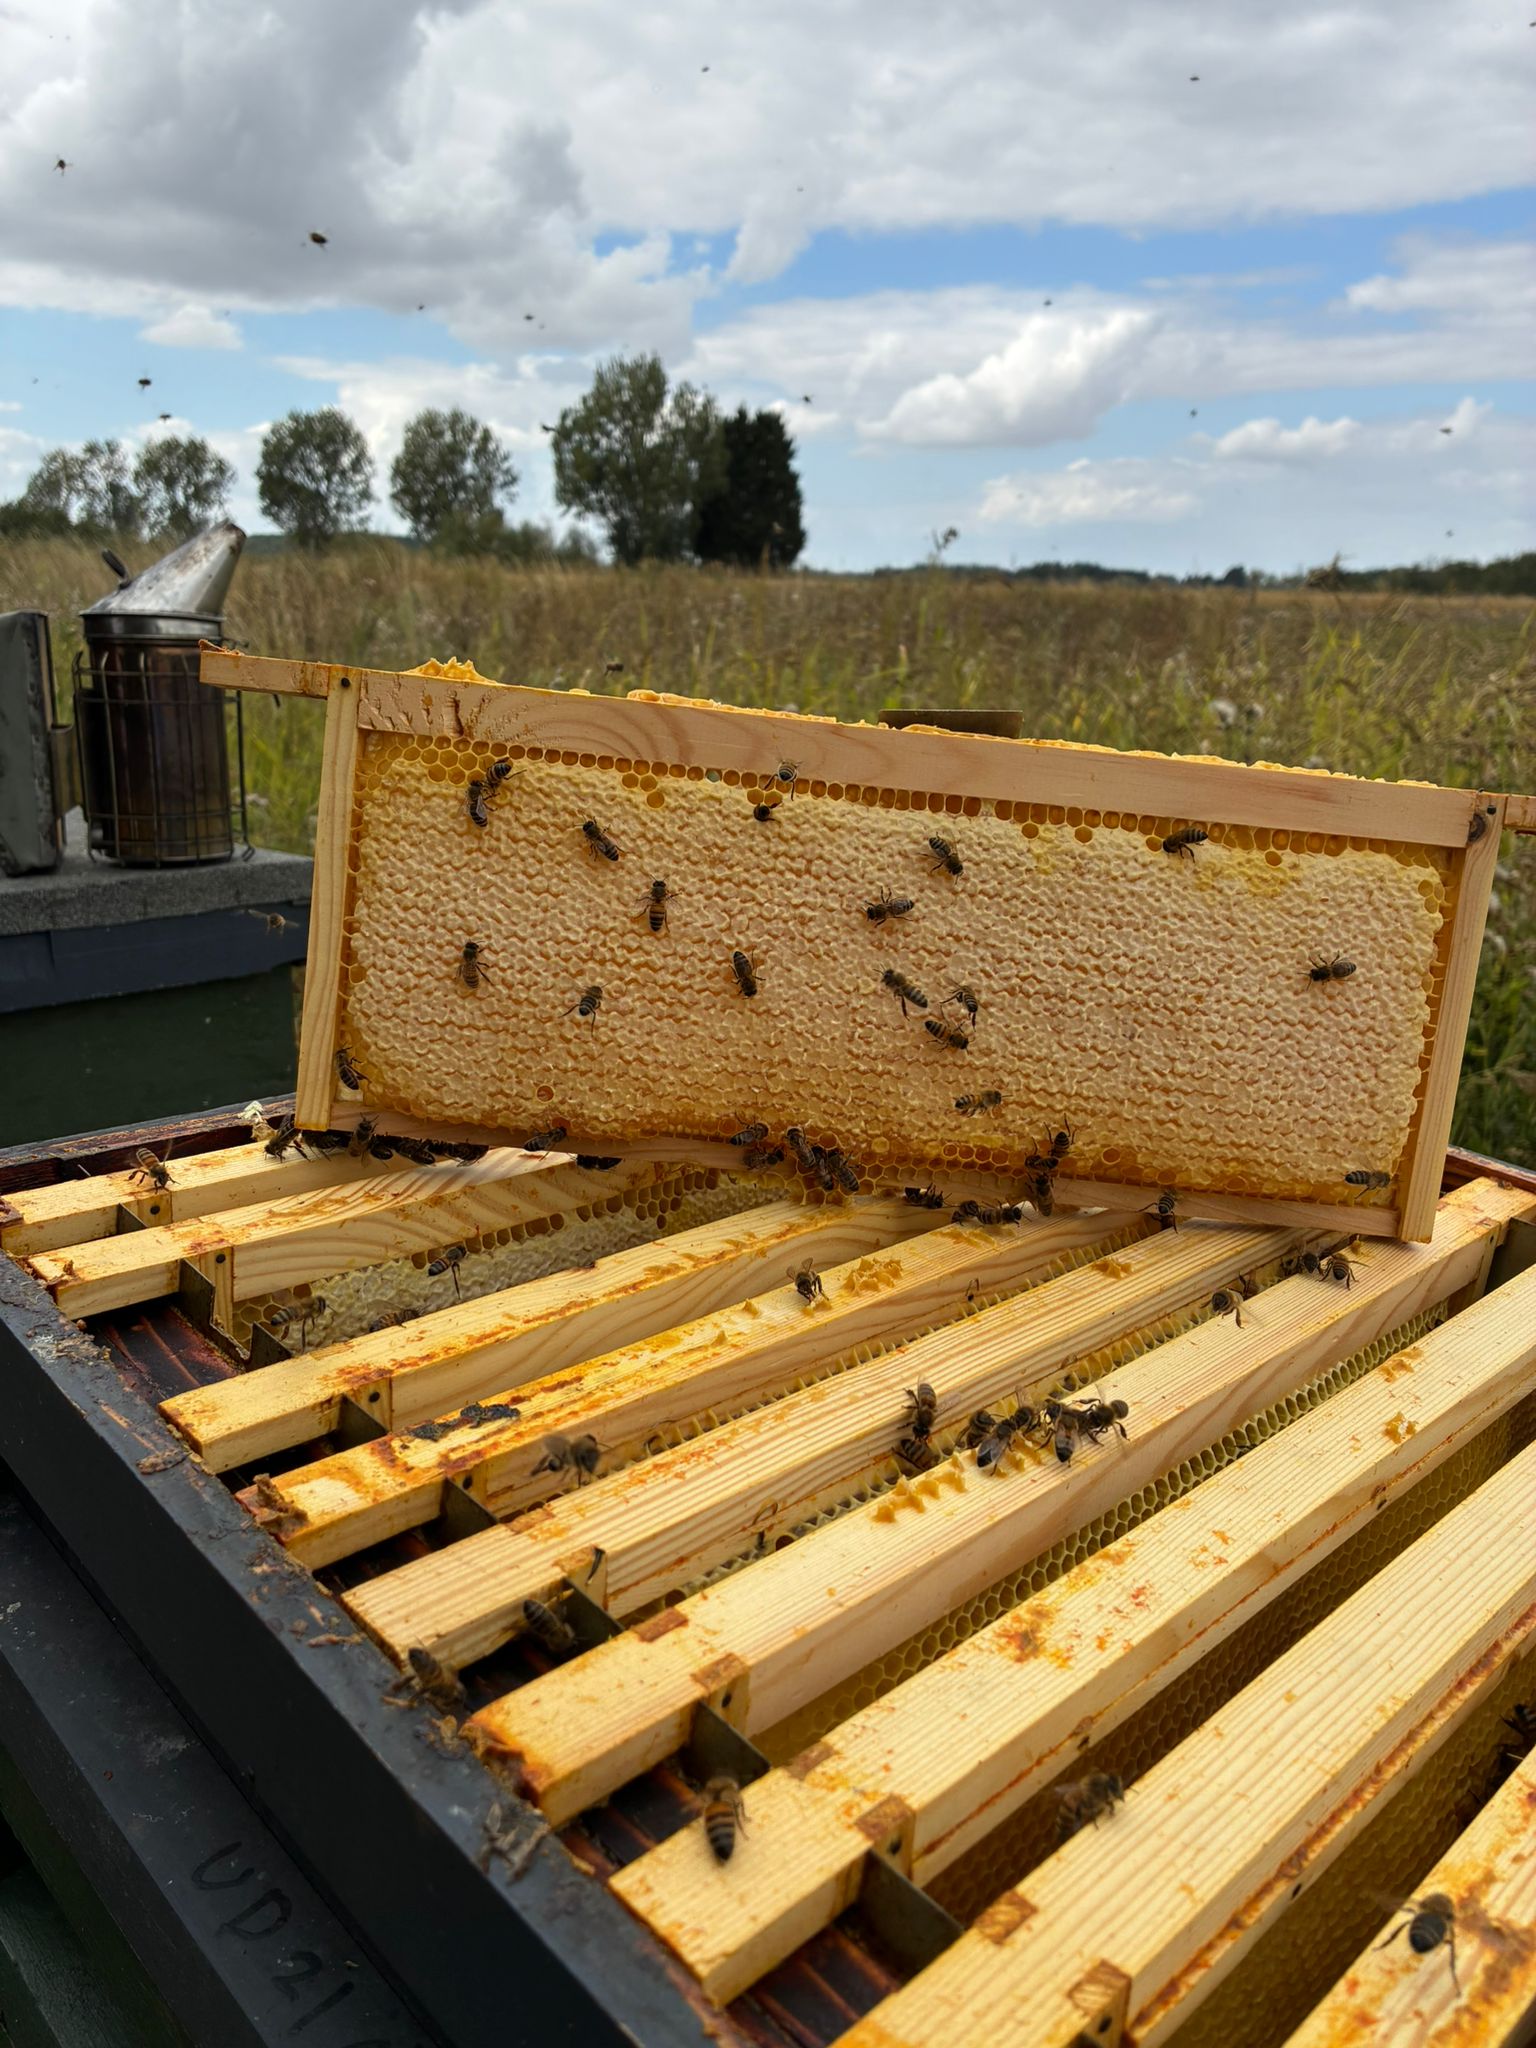
A frame of capped honey ready for extraction. Honey should only be removed once it is sufficiently ripe and the cells are predominantly capped.
Preparing and Uncapping Frames
Uncapping is the process of removing the wax seals so honey can escape. Using a heated uncapping knife or a simple uncapping fork, gently slice or lift the wax just below the surface. These wax cappings are pure, high-quality beeswax—don't discard them, as they can be melted down for candles or balms. By carefully removing only the surface layer, you preserve the 'drawn comb' underneath. This is invaluable for the bees, as they can reuse the existing structure without spending significant energy producing new wax for next year's crop.
Removing the cappings from a honey frame. This delicate process exposes the liquid honey while preserving the reusable comb structure for the colony.
Ensure your tools are clean and sharp. A tangential approach with the knife—cutting away from yourself—provides the best control. As the honey begins to weep from the exposed cells, it's time to move to the extractor. This preparation requires patience, but doing it correctly ensures a cleaner extraction and healthier recurrence for your colony's seasonal cycles.
Spinning and Extraction
Loading the extractor requires careful balancing to prevent violent shaking. Extractive motion relies on centrifugal force—spinning the frames so fast the honey is pulled out and flung against the walls. In simple terms, radial extractors hold frames like spokes on a wheel (honey comes out of both sides at once), while tangential extractors hold frames flat against the drum. If using a tangential model, you must spin one side, turn the frame, and spin the other. Start gently to prevent the heavy weight of the honey from crushing the delicate wax comb. As the honey flows out, you can gradually increase speed.
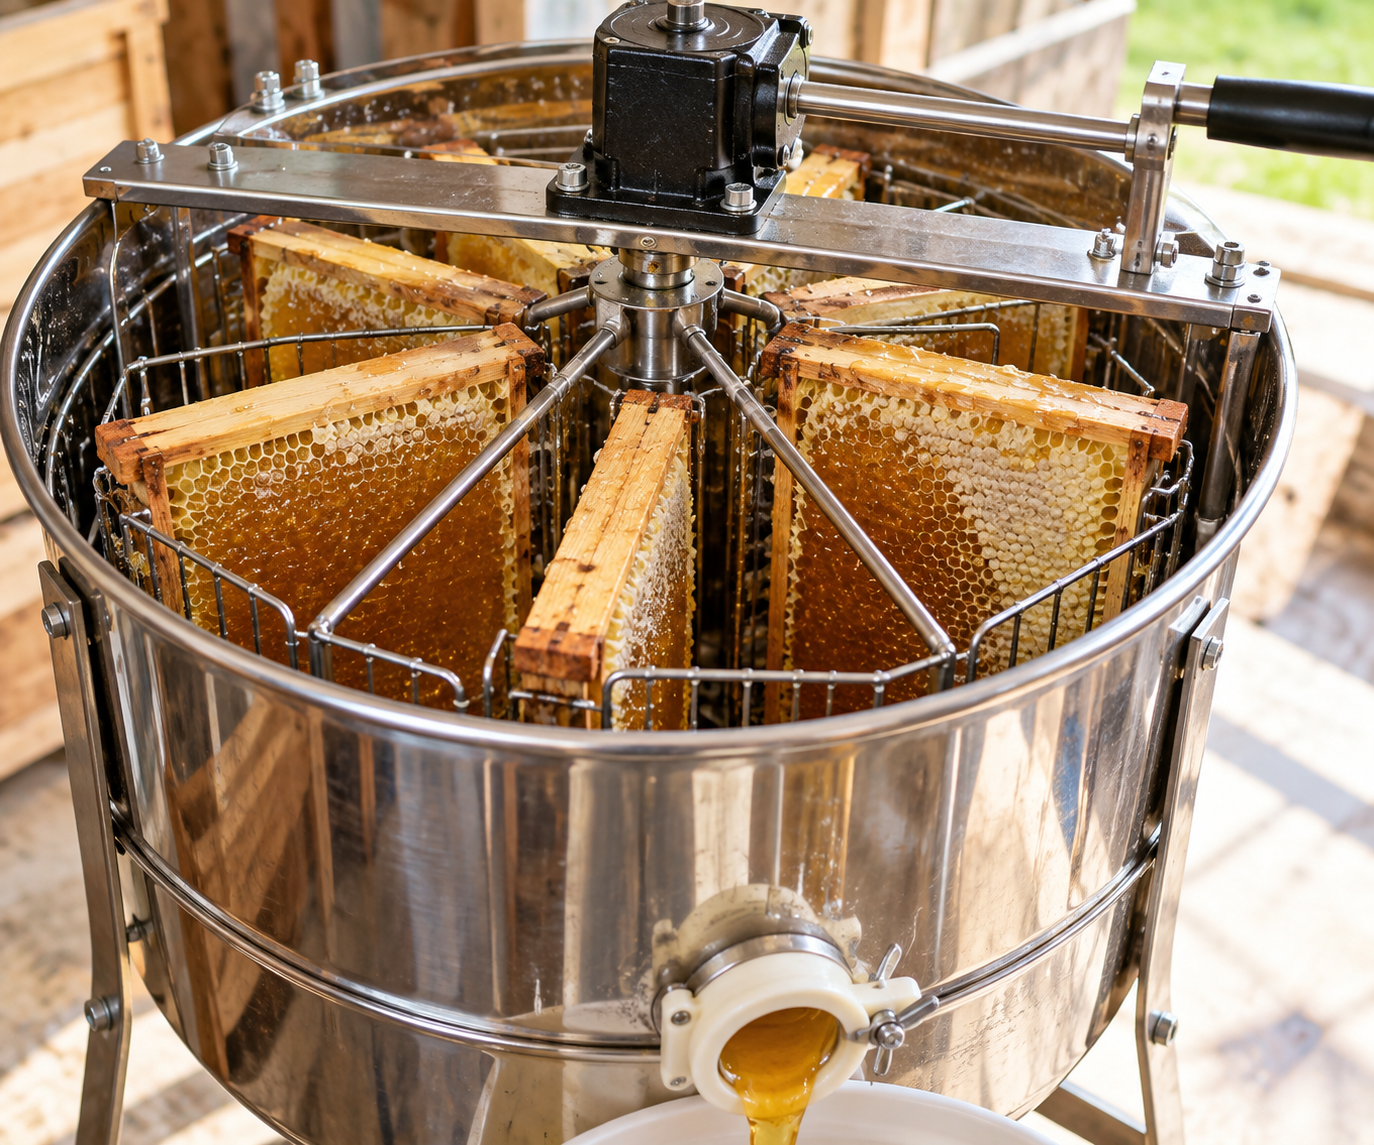
A stainless-steel honey extractor machine. Centrifugal force effectively removes the honey from the cells without damaging the delicate artisanal foundation.
Centrifugal extraction is a physical wonder that keeps the comb foundation intact, allowing you to return 'wet' frames to the hive for cleaning or storage. Watch for the golden spray hitting the stainless steel—once it stops, the frame is empty. This mechanical process is the most efficient way to separate the liquid gold from the wax without heat, preserving all the natural vitamins and floral aromas of your Norfolk harvest.
Settling, Jarring and Storing
The final steps require a clean environment and attention to detail. Freshly extracted honey contains bits of wax and air bubbles. Filter it through a multi-stage strainer into a settling tank. Let it sit for 24-48 hours; air bubbles and fine impurities will rise to the top, allowing you to jar perfectly clear honey from the bottom tap. Use food-grade jars and ensure they are bone-dry, as any moisture can lead to spoilage.
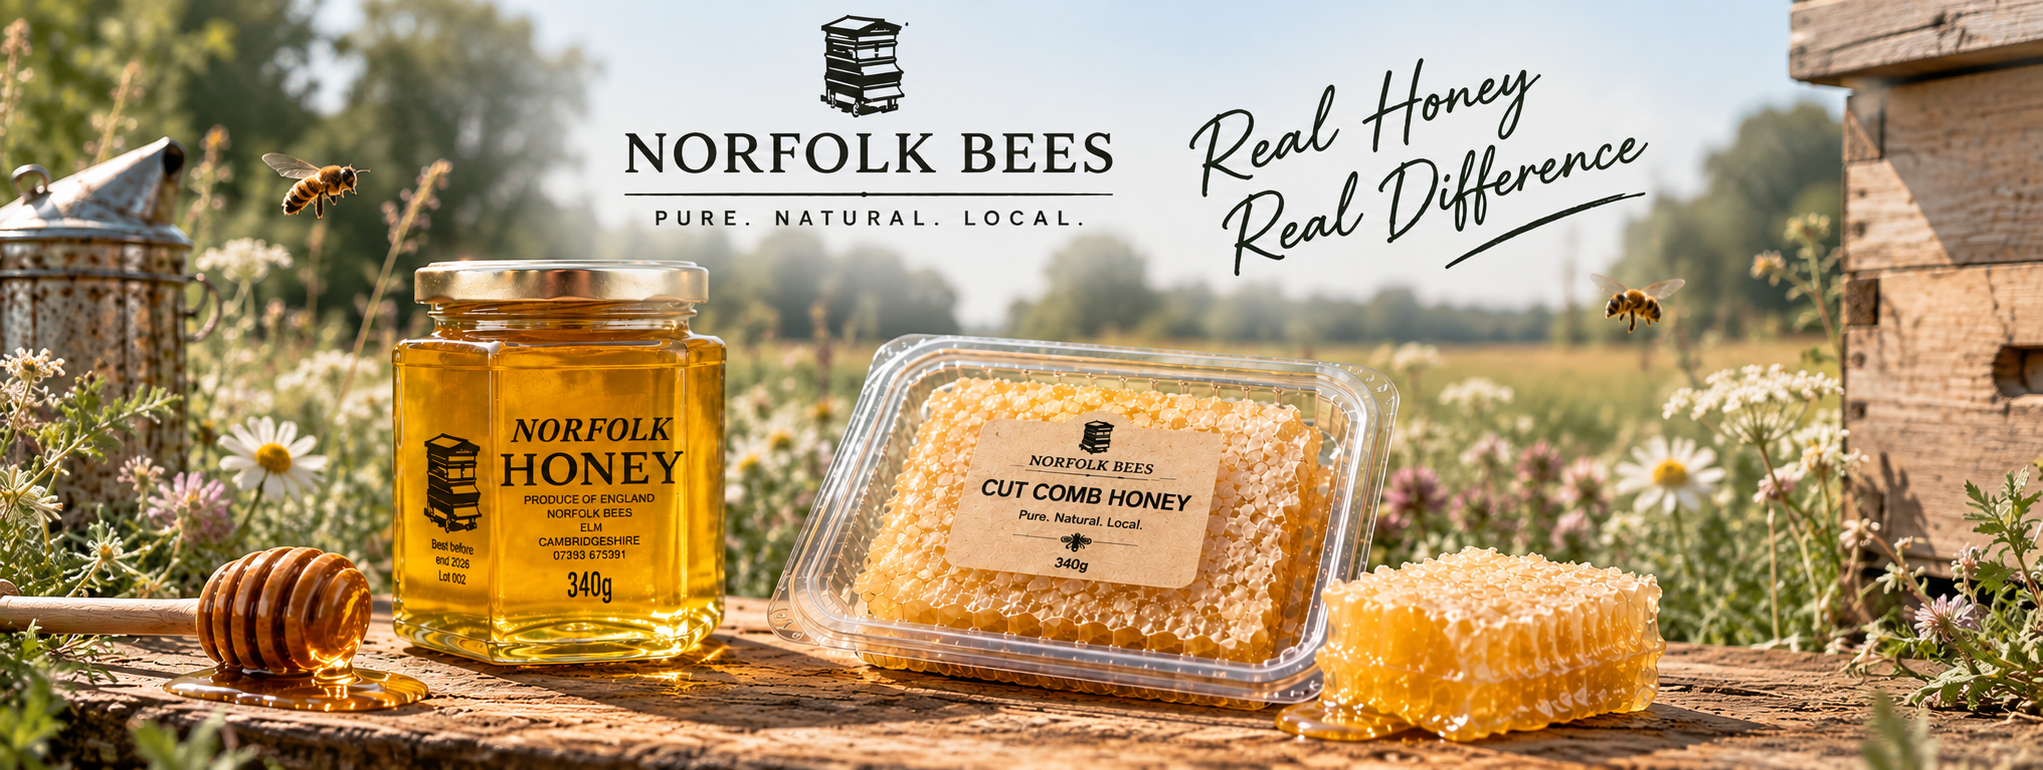
Finished artisanal jars of Norfolk honey. Proper settling and storage ensures that the high quality of the harvest is maintained from the hive to the consumer.
Store your finished jars in a cool, dry place. Room temperature is ideal; fridge temperatures speed up crystallisation, making it harder to pour. Ensure lids are tight to keep out ambient moisture. By following these steps—from frame selection to the final seal—you honor the bees' hard work and provide beekeepers and customers alike with a pure, unadulterated taste of the British countryside.
Further Reading
Honey & Beyond
Discover the diverse varieties of honey and their unique properties.
Shop
Browse our selection of local honey and beekeeping supplies.
Quick Start Guide
Essential tips for beginner beekeepers starting their journey.
Ask Tristan
Have a question? Tristan is here to provide expert beekeeping advice.